

MENU
- Brands
- PermaBoundResin Bound Gravel Products
Resin Bound Gravel Products

- Resin Bound Gravel KitsWe have a comprehensive range of the most popular blends of gravels to make resin bound gravel installations as simple as possible.
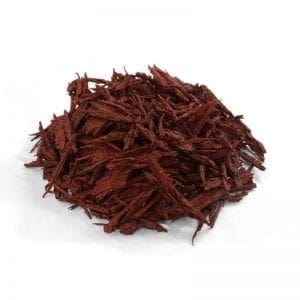
- Resin Bound Gravel & AggregatesWe carry a huge range of different gravels, sands and glass dust. Choose from our extensive collection or create your own unique blends using these washed & kiln-dried aggregates.
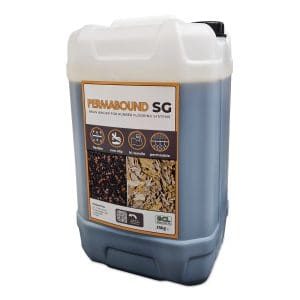
- Resin Bound Gravel BinderUsing only the highest quality polyurethane binders is vital to the success of any resin bound gravel installation. We scour the market to offer you the greatest choice in resin bound binders.
- Edging Profiles for Resin BoundIn conjunction with Dural, one of the leading names in edging products, we stock products which are ideal for creating a neat edge for a resin bound project.
- Resin Bound Training CourseA comprehensive one-day program designed to equip participants with the knowledge and practical skills required to install resin bound surfaces effectively.
- RecoPlasPlastic landscaping products
Recyled Plastic Landscaping Products

- Soakaway CratesA modern solution to creating a soakaway, our recycled plastic soakaway crates can hold up to 400L each, supporting up to 100 tonnes
- Channel DrainageCommonly found on driveways and parking areas, channel drains help to direct surface water to soakaways and sewers
- Plastic PlyboardAn eco-friendly and more durable alternative to traditional plyboard, RecoPly is made from 100% recycled plastic and lasts up to 25 years.
- Lawn Edging & StakesA range of recycled plastic lawn edging products for creating separation and segmentation on landscaping projects, along with suitable fixings.
- SoRoToDanish-made machinery & tools
Rough tough machinery

- Forced Action MixersIdeal for mixing a huge range of materials including resin bound gravel, plaster, lime render, concrete, soils, animal feeds and more.
- Portable ConveyorThese beasts move over 320 tonnes per day and can be connected in series to transport building waste or materials around sites.
- DownloadsUser manuals, technical specifications and brochures can all be downloaded from here. If you’re looking for information on SoRoTo products, start here.
- Forced Action Mixer Spare PartsWe stock a range of spare parts for SoRoTo forced action mixers including replacement paddles, arm and,electricals to keep your machines in good order.
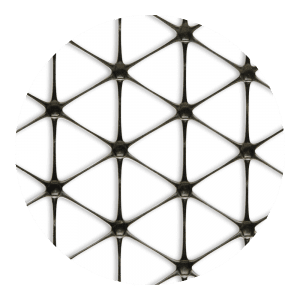
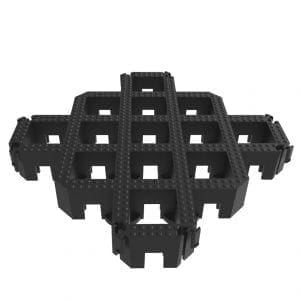
- X-GridPorous paving grid
Gravel Retention & Ground Reinforcement Grid

- X-Grid RangeOur own range of ground reinforcement and gravel retention grids which can be used for dozens of applications and is trusted by thousands of contractors
- X-Grid AccessoriesA collection of complementary products which work in conjunction with X-Grid such as delineators, fixings and edgings.
- DownloadsIf you’re looking for installation guides, technical information or material properties, you can find a number of documents to download here.
- Blogs & Case StudiesA collection of written articles on the topic of X-Grid including testimonials, how-to guides and informational posts.
- EcodekComposite Decking Range
Wood polymer composite decking

- Plastic Decking BoardsEcodek have a range of different wood polymer composite decking boards with a minimum guarantee of 25 years. Choose from grooved or wood-grain designs in a selection of colours.
- Decking Fixings & FittingsScrews, clips and other fixings can be found here which assist on installation of Ecodek WPC decking products
- Decking Sub-frameA range of plastic joists, bearers and adjustable pedestals & packers to give your deck the best foundation.
- Balustrade & Gate KitsFinish off any decked area with this collection of matching balustrades and gate kits made specifically for use with the Ecodek range.
- The Resin BullResin Bound Tools Specialists
Tools for Resin Bound Gravel Installers

- Resin Bound Trowel RangeSpecifically designed for resin bound installation, The Resin Bull trowel range features double handles and a range of sizes
- Gauged Spazzle - The Resin BullDozerIncredibly quick and effective at rough spreading resin bound mixes around, The Resin Bulldozer features depth gauges for accuracy
- Kneeling Pad - The Comfy BullAs resin bound installers spend a lot of time knelt, The Comfy Bull offers protection for knees and shins, helping to reduce fatigue and injury
- More Brands
- PermaBoundResin Bound Gravel Products
- Reinforcement & Protection
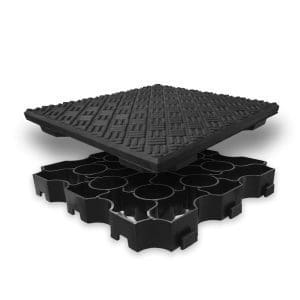
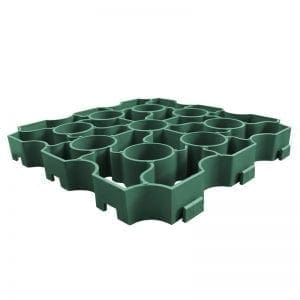
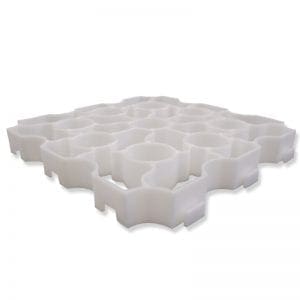
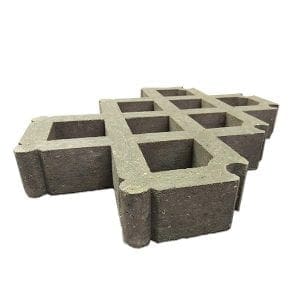
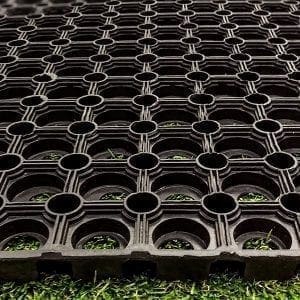
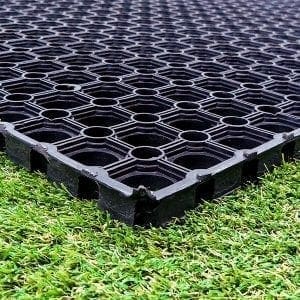
- Gravel GridGravel grids are a plastic paving system which can be used to create gravel driveways, paths, hardstanding and more
- Grass Reinforcement MeshesEasy-to-install solution which helps to reinforce grass making it usable for pathways, access routes and parking
- Heavy Duty PaversFor heavy duty paving applications, take a look at our range of HD pavers including RecoPave and TruckPaver
- Grass Protection MatsGreat for use in playgrounds, events, attractions and more, grass protection mats can be used to create permanent or temporary walkways and standing areas
- Grass Protection MeshesIdeal for grassed pedestrian areas, grass protection meshes protect both the blade and root of the grass and helps prevent soil erosion
- Rubber Surfacing
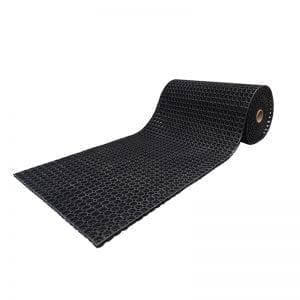
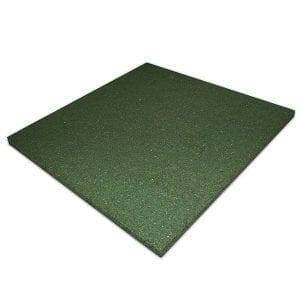
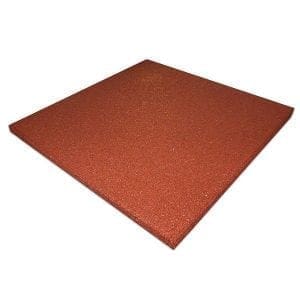
- Rubber Grass MatsDesigned primarily as a safety surface for playgrounds, rubber grass mats have countless different applications including walkways, paths and play areas
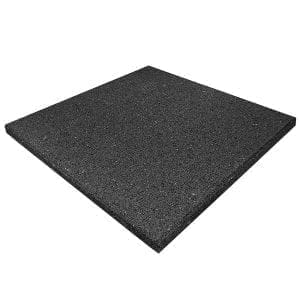
- Wet Pour SurfacingWet pour surfaces are an impact-absorbing, rubber crumb floor covering which is traditionally used in playgrounds, parks and other recreational areas.
- Rubber Play TilesIdeal for creating vibrant, soft and safe play flooring for low level play areas. Available in a range of 3 colours, these precast EPDM tiles are convenient and quick to install.
- Rubber Gym Mats & Gym FlooringStrong, non-slip, noise and fatigue reducing rubber gym flooring, our rubber gym mats are ideal flooring solution for almost any commercial or home gym
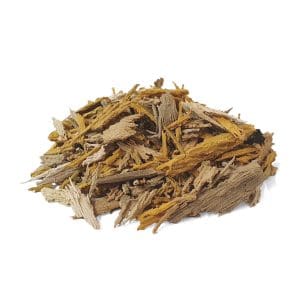
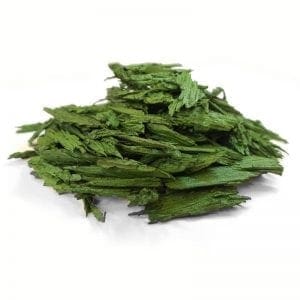
- Rubber MulchA safe, slip resistant, wheelchair friendly, natural looking and fully permeable surface commonly used in playgrounds, play areas, parks and other recreational areas to create a protective flooring.
- Decking & Grass
- Plastic Decking BoardsEcodek have a range of different wood polymer composite decking boards with a minimum guarantee of 25 years.
- Decking Sub-frameA range of plastic joists, bearers and adjustable pedestals & packers to give your deck the best foundation.
- Decking Fixings & FittingsScrews, clips and other fixings can be found here which assist on installation of Ecodek WPC decking products
- Artificial GrassPremium, stunning artificial grass for gardens, outdoor spaces and landscaping
- Grass Fitting AccessoriesRange of fitting accessories including jointing tapes, underlays and adhesives
- Resin Bound Gravel
- Resin Bound Gravel KitsOur selection of beautiful blends of aggregates make it easy to choose the materials for your next resin bound gravel project
- Resin Bound Gravel & AggregatesIncluding washed & kiln-dried gravel, crushed glass and specialist sand, PermaBound is renowned for resin bound gravel.
- Resin Bound Gravel BinderUsing only the highest quality polyurethane binders is vital to the success of any resin bound gravel installation.
- Forced Action MixersThe SoRoTo range of forced action mixers offers machines which can mix up to 12 bags of gravel in each mix. Designed and built in Denmark.
- Resin Bound ToolsTrowels, floats, sledges, spazzles and lutes can all be found in our range of tools for resin bound gravel installations. Featuring The Resin Bull and Ox Tools.
- Resin Bound Training CourseA comprehensive one-day program to equip participants with the knowledge and practical skills required to install resin bound surfaces effectively.
- Tools & Machinery
- Forced Action MixerMultipurpose mixers, ideal for resin bound
- Forced Action Mixer HireSoRoTo pan mixer hire for a chosen project
- Paddle MixersHandheld electric mixer, great for resin & plaster
- TransformersReduce 230v to 110v for tools
- Hand ToolsTools for all purposes and projects
- Submersible Combi PumpsSubmersible water & sludge pumps